Make your own USB microscope using cheap and simple materials! I was able to build mine for less than $20 (links below). This project uses an old webcam (the higher definition, the better the image but I was able to get quality results with as low-resolution as a 520p) and a laser pointer lens to allow you to examine material up close using your computer's default camera software.
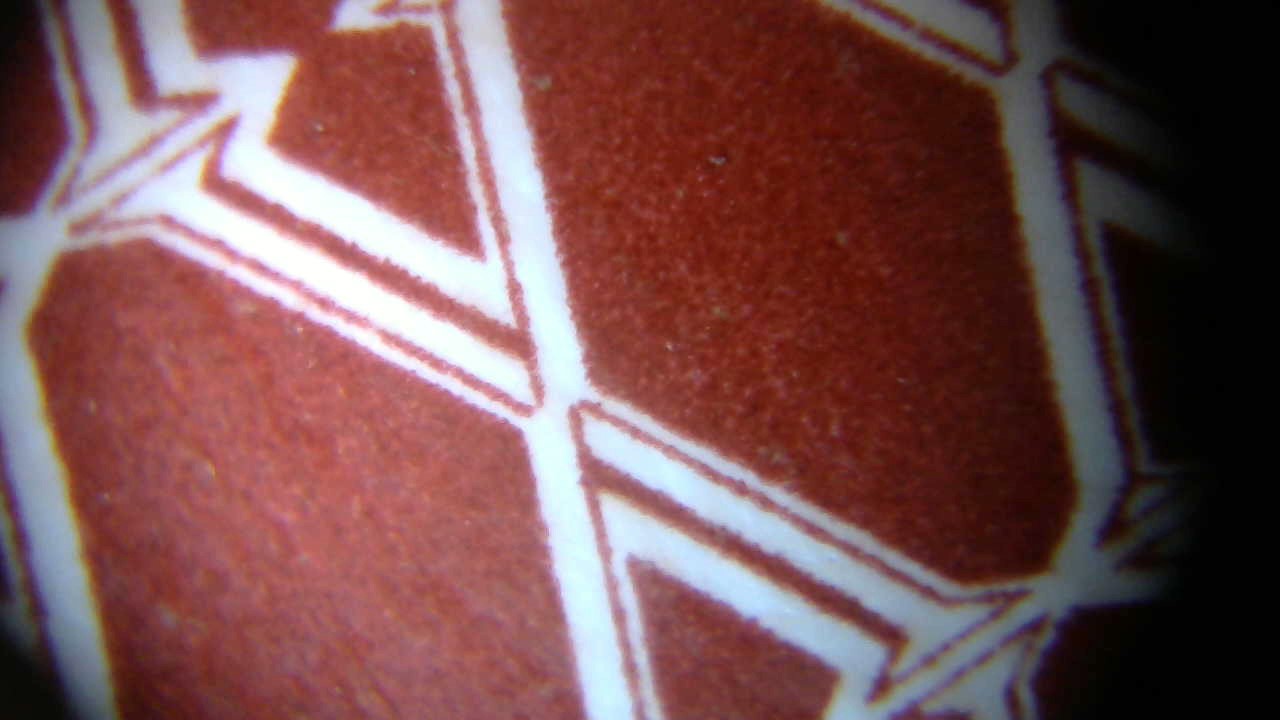
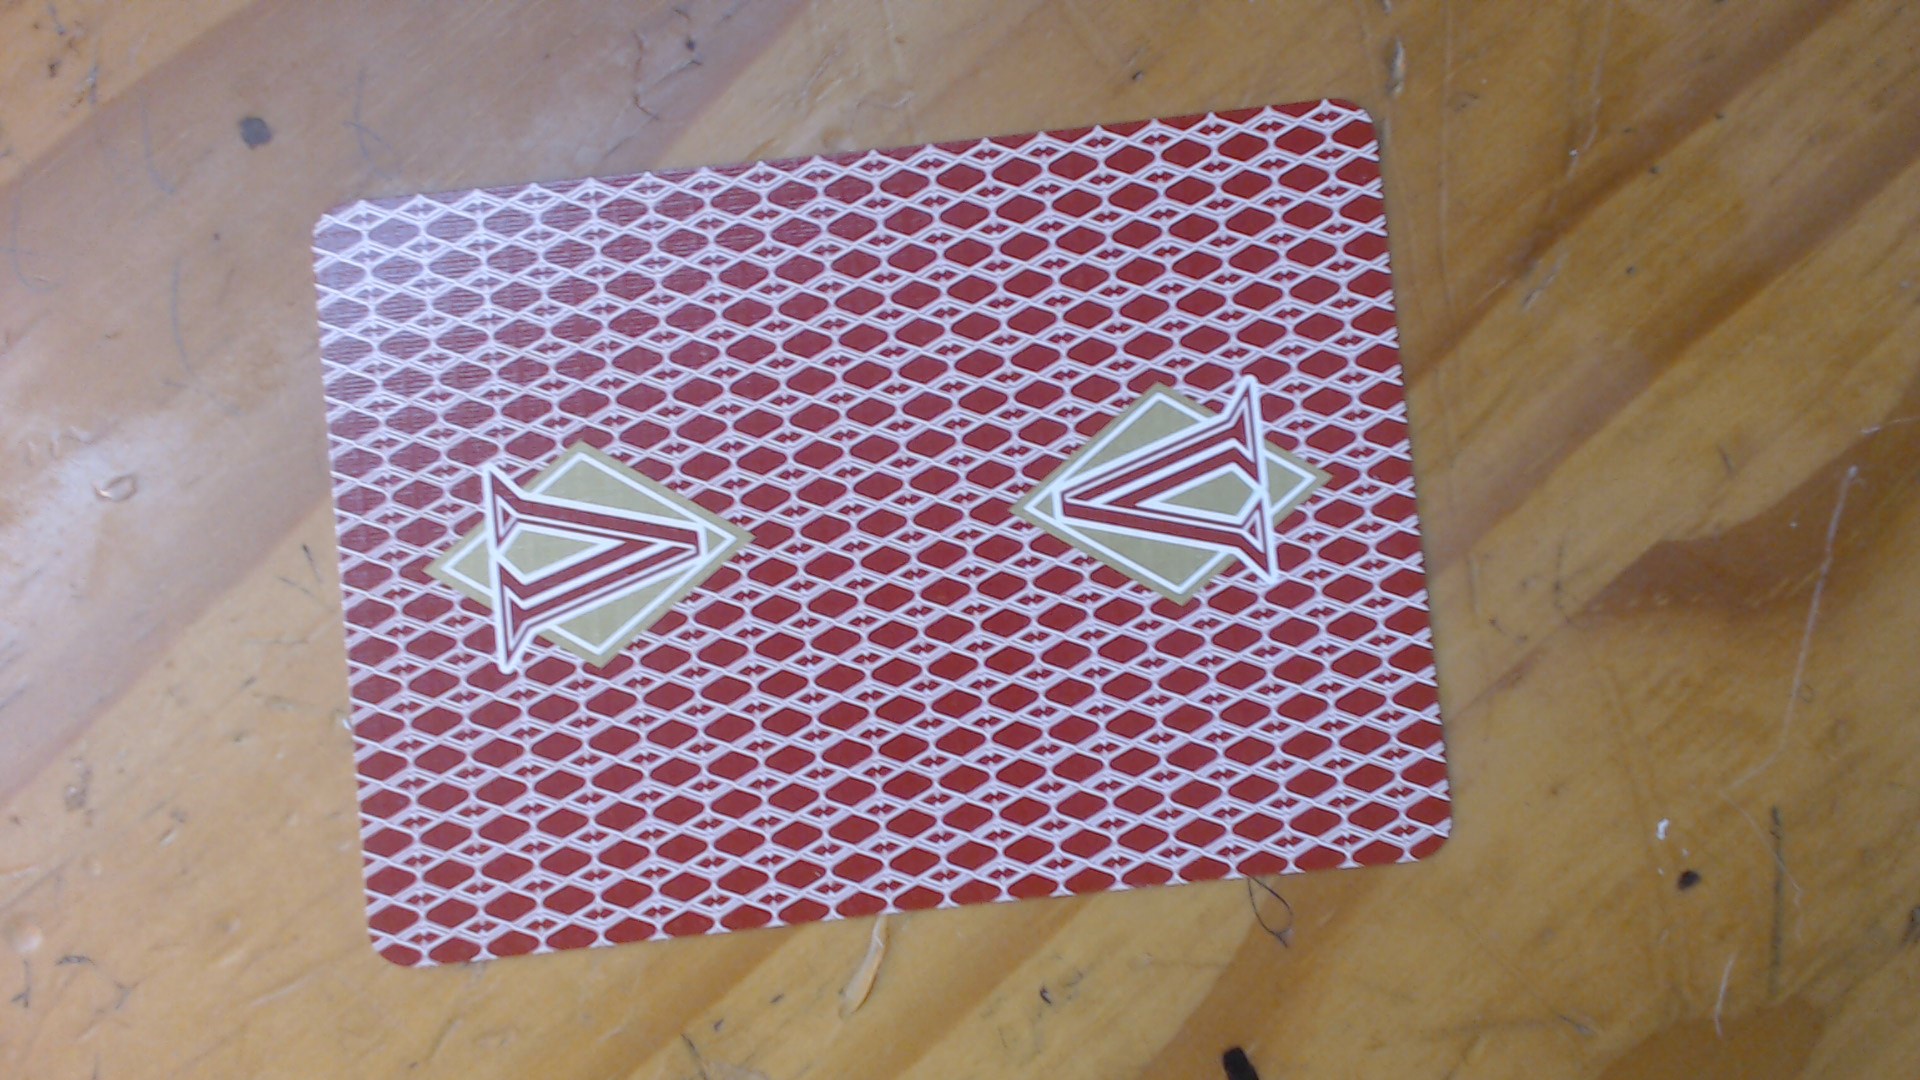
For this project I built two versions, a 480p and a 720p so you can compare the difference in quality. As you can see from the playing card, the 720p camera has a significantly closer look and higher resolution. I particularly liked how sharp and clear the material of the playing card was in the image.
See it in action below!
Step 1: Disassemble the Webcam and Laser Pointer
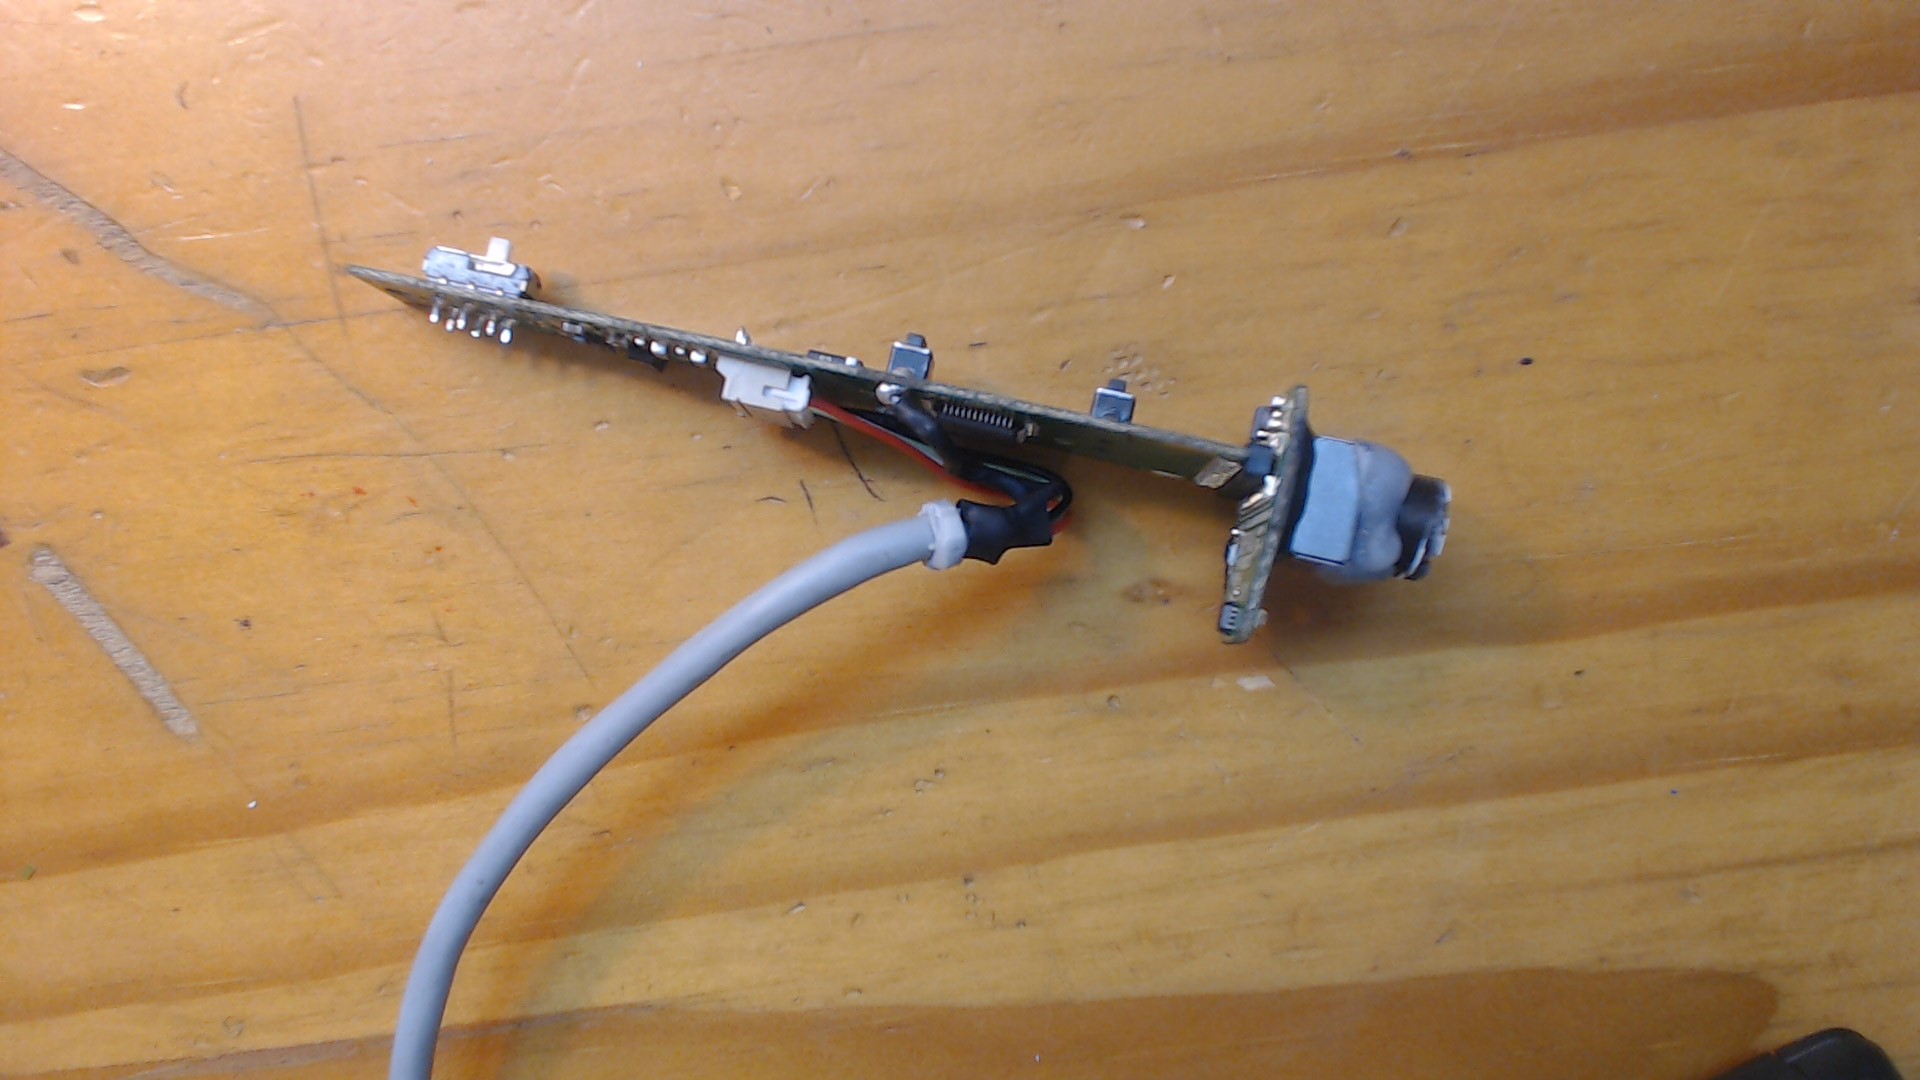
Use the small screwdriver to take apart the webcam and laser pointer. Remove the casing from the webcam until you have the exposed lens and electronics. Remove the lens from the front of the laser pointer. Place it face up on the desk.
Step 2: Assemble the Microscope's Lens
Now plug in the webcam and open the camera software. Then take the laser's lens, and hot glue it to the webcam so that the webcam is behind the front of the lens (in the same position as the laser diode originally was). Be extremely careful not to get glue on the lens of either component. I used a small metal washer to separate the two (so I glued each to one side of the washer) to help avoid getting glue on the lens. I did this step with the camera on so I could see if I was eclipsing the field of view.
I hot glued purple craft sticks to my webcam casing to help shield the exposed electronics and so I could mount it later.
Step 3: Mounting and Enhancing Light
Once you have the lens mounted to the webcam, test it out! Point it at small objects to see their surface's up close.
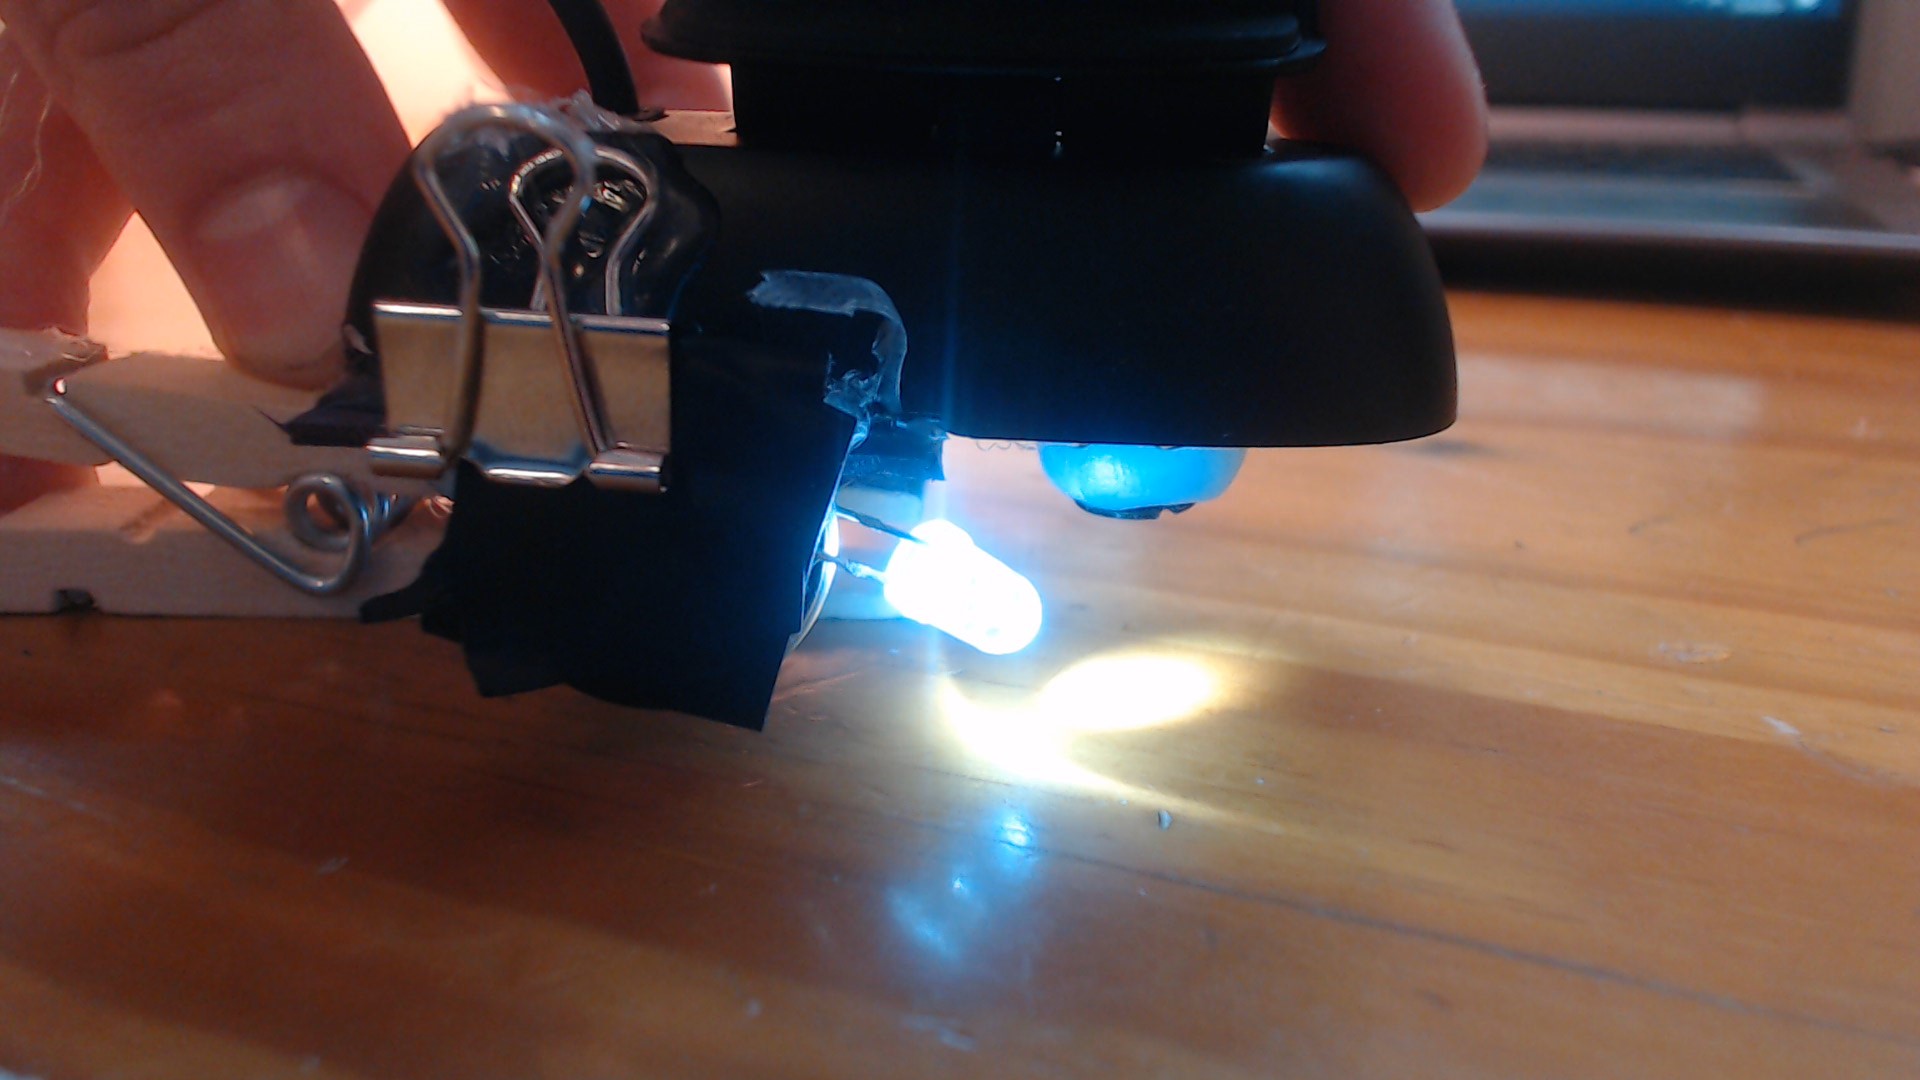
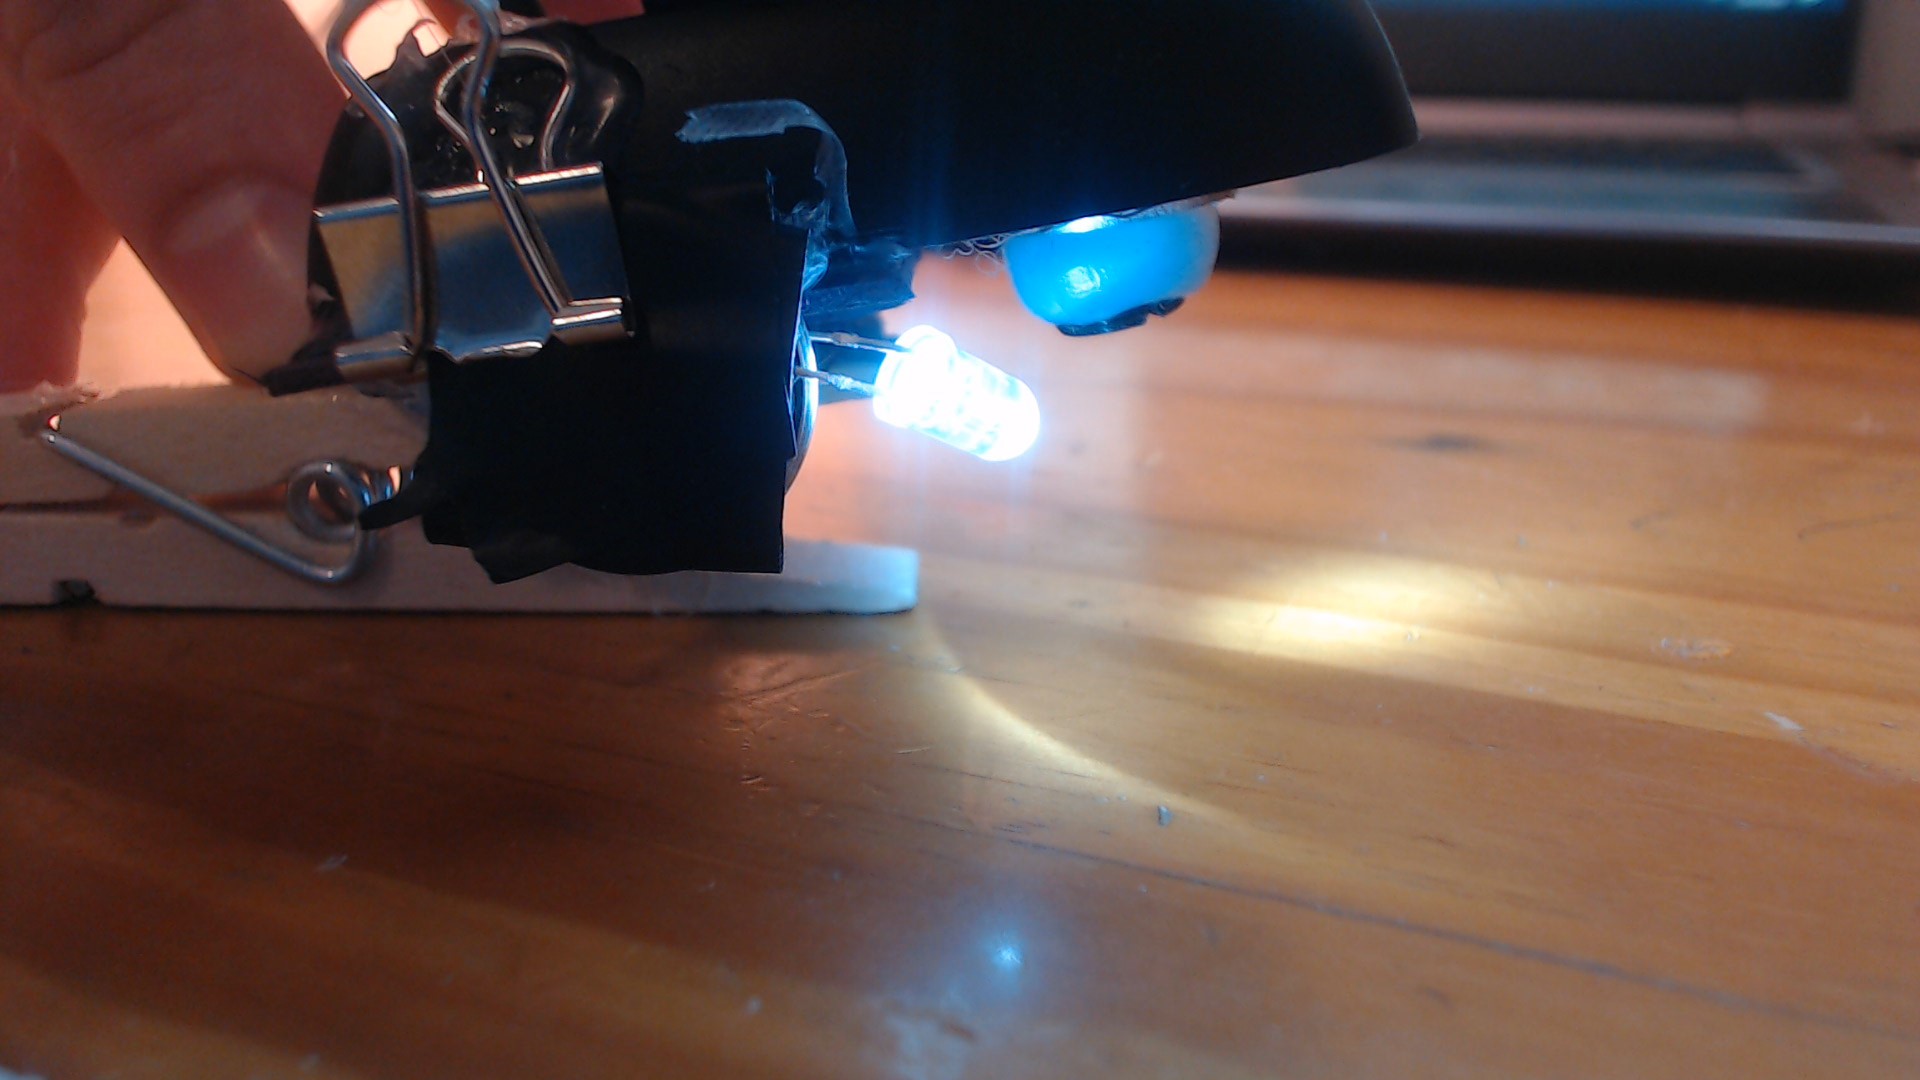
I added a small white LED (hot glued to the side of the microscope lens) to improve the quality of the image. I simply duct taped the LED to two button cell batteries for this step, which means that the LED is always on but I plan on adding a switch later. If you want to diffuse the LED's light so it does not saturate the image, you can also use the aquarium tubing (by sticking the led into one end and snaking it as you want around the microscope lens) to solve this problem.
If you have some issues with holding the device steady at close range then I would recommend mounting it so that you can get clearer, less shaky images. I hot glued mine to a clothespin so that when I pressed down I could apply a controlled amount of pressure to simulate a " focus zoom".
Step 4: Take a Closer Look
Voila! You now have a brand new digital USB microscope. If you want to take a picture of what the camera sees, simply focus on the image and hit "Printscreen" on your computer. Feel free to post pictures in the comments below of the cool close-ups you find, and let me know if you have any questions!
I tested three similar materials: wood, paper, and leather so you can see the difference between each one up close!