Last September I added a custom watercooling loop to my computer. At the time I wrote it up on reddit, but now that this site is live this is a good place to put it.
I spent weeks researching how I wanted to implement the loop. I started out knowing nothing about it, only occasionally seeing pictures of computer setups that I thought looked really cool. Then as I started looking at them for fun I slowly came to the decision that I "needed" to do a custom loop myself.
I spent a few weeks researching and buying the parts (detailed at the bottom of the post). It was interesting trying to figure out which radiators to use, which blocks, hard or soft tubing, how to do bends, and whether or not to delid my CPU while I had everything torn down. Once I had made those decisions, all that was left was for the parts to arrive and it was a painfully slow 6 week shipping time from China for many of the fittings.
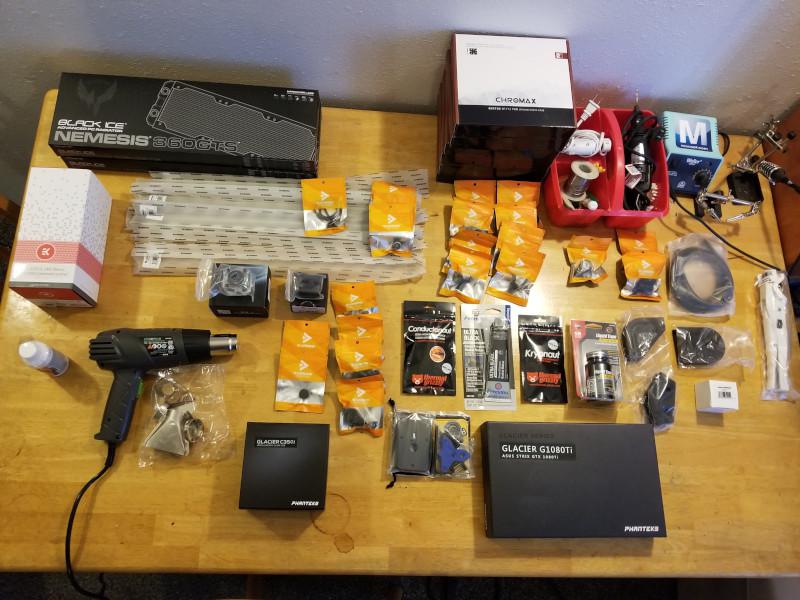
Once the last package arrived, all I needed was a good long weekend to work on it. I had everything ready to go, and then realized the silicone insert was too large for my acrylic tubing (shipping error). Not wanting to waste the weekend waiting for another one to arrive, I started scrounging for a solution. After a trip to the hardware store and a failed DIY insert with fuel line (that ended up melting... oops) I resigned myself to a 3 day weekend without my computer until it would ship after labor day.
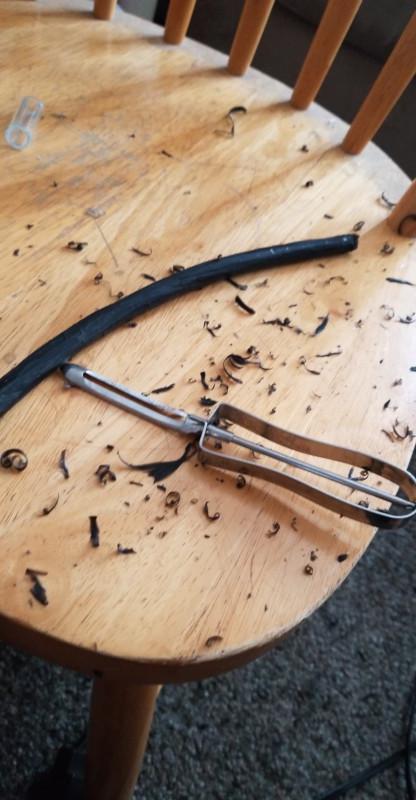
The next day I was trying to think of a way to shave it down since a knife was being problematic and realized, I had an old potato peeler which was perfect for shaving the couple extra millimeters of material off. Never imagined that'd go in my list of tools for pc building.
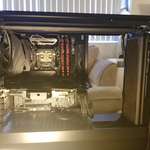
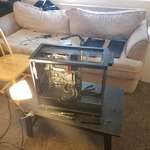
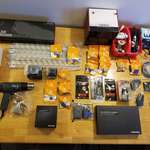
With all my tools ready (for real this time) I took my computer apart and started prepping the components.
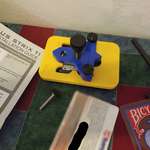
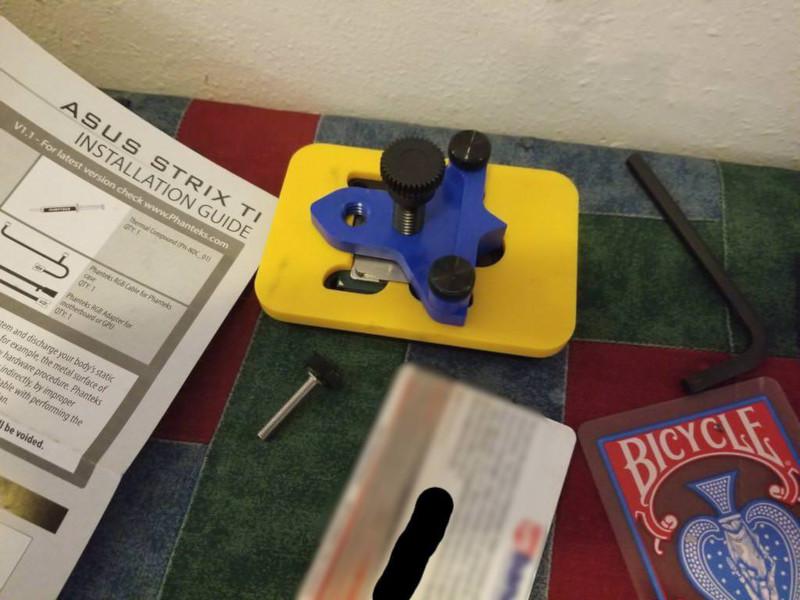 First was the CPU delid. Delidding a CPU involves removing the integrated heat sink (IHS) from the die, and replacing the stock thermal paste with a higher quality one. To do this, I used a delidding tool which made the process quick and easy (though still nerve racking as modding a $349 critical component and breaking the warranty is not exactly trivial). I won't go into this in too much detail, but there are some good tutorials on YouTube. If you decide to delid, just be careful and make sure you know what you're getting into.
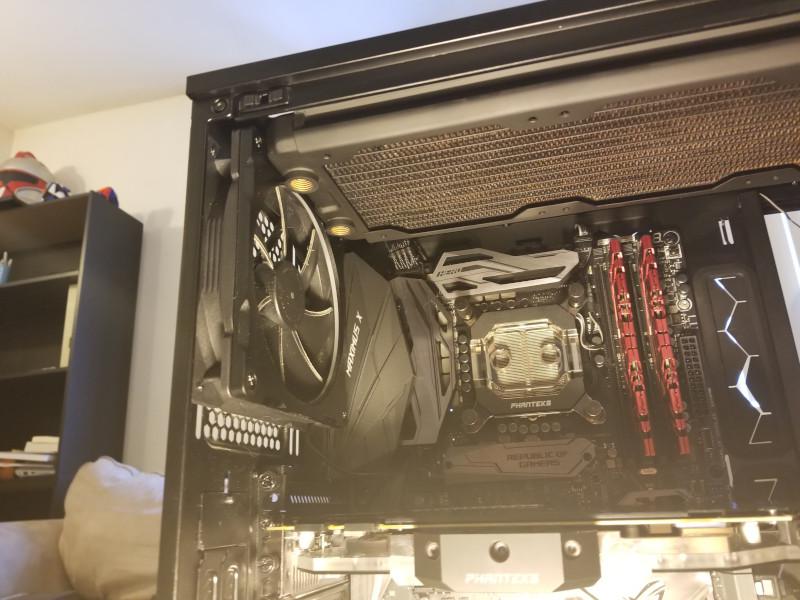 After the CPU IHS was replaced, I mounted the CPU water cooling block.
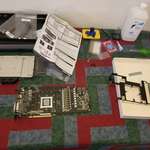
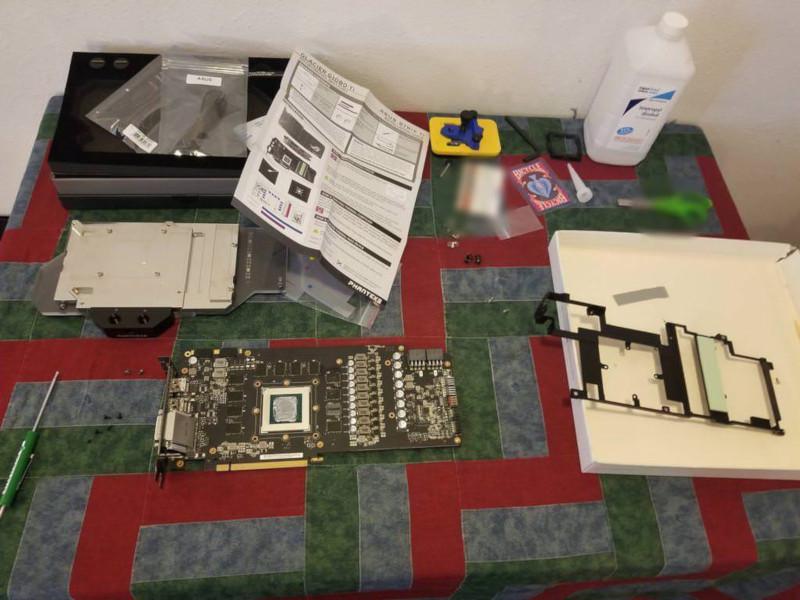 Next up was the GPU. I needed to remove the old air cooler and replace it with the water block I had ordered. I found a video showing how to take my ASUS 1080ti air cooler off and followed the instructions to gently remove the top.
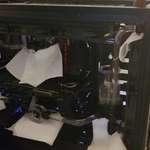
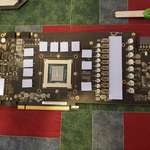
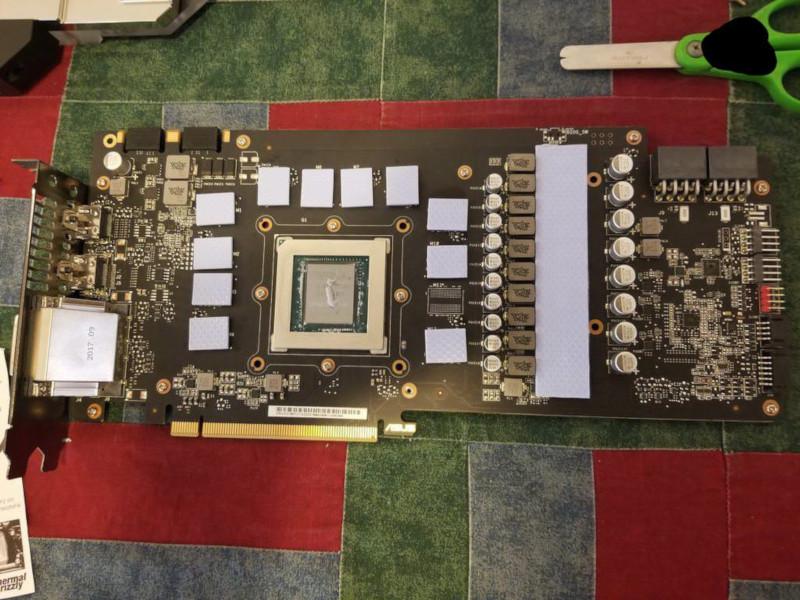 I then cleaned up the old thermal paste, reapplied the new, and added the thermal pads to the components that need cooling.
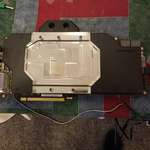
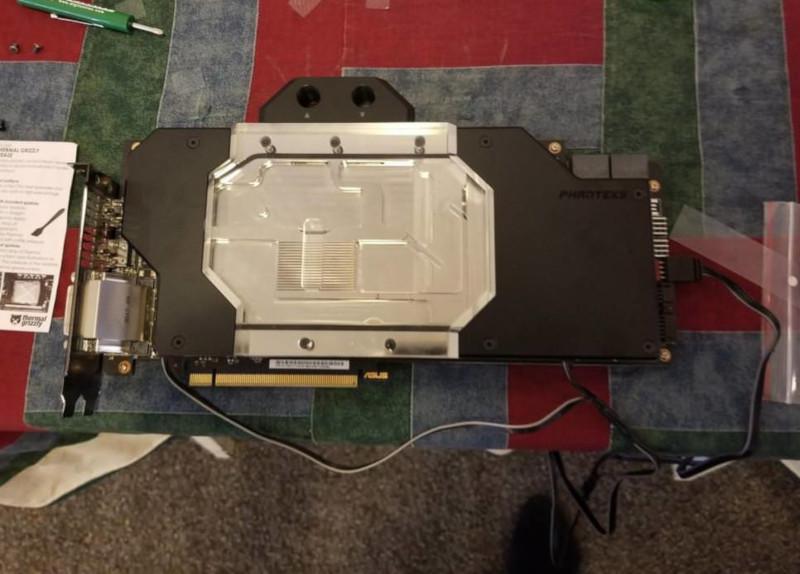 To finish the GPU I placed the water block on the card and secured it using the original screws. One neat (and cost-saving) feature of this block with my card was that it's still compatible with the original GPU backplate, meaning that I didn't have to buy a new one that didn't interfere with the water block.
Now to start fitting the radiators.
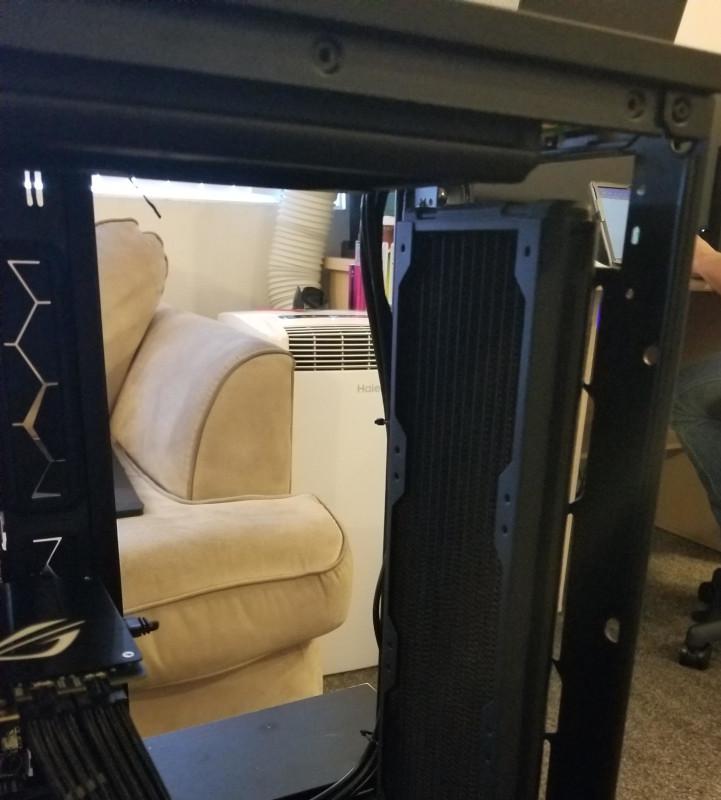
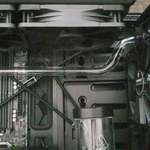
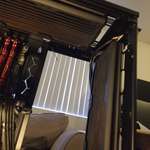
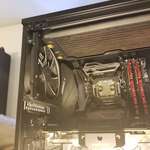
The two 360 slim radiators I bought fit perfectly in my Fractal Design R6 case. There were a couple other people who had done this as well, so I knew it would beforehand, but the exactly clearances had been vague.
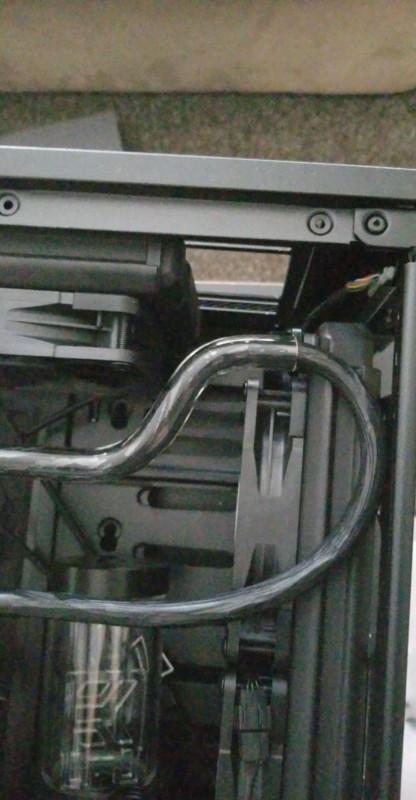
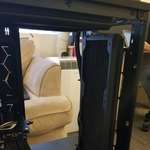
Then I put the back panel back on and started trying to fit the pump. Unfortunately, I found another part I had neglected to order: the pump bottom mount. I managed to side mount it to a panel from my case intended to hold the optional cdrom bay. With all the components ready, I was ready to start fitting the tubing runs.
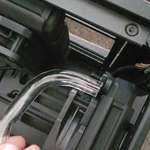
I went with acrylic tubing over PETG. Acrylic being more clear and not having the slight blue tint common to PETG was the deciding factor, despite it being harder to bend cleanly.
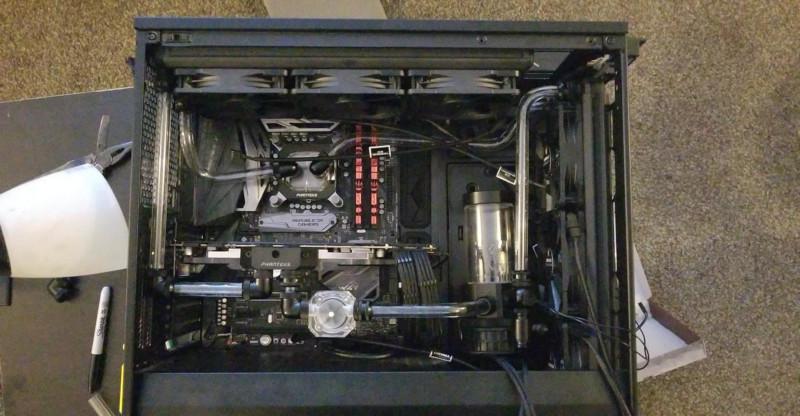
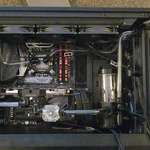
And here it is! All the components added and tubing bent. The pump is slightly more crooked here than in the final image, though I wasn't able to eliminate it completely.
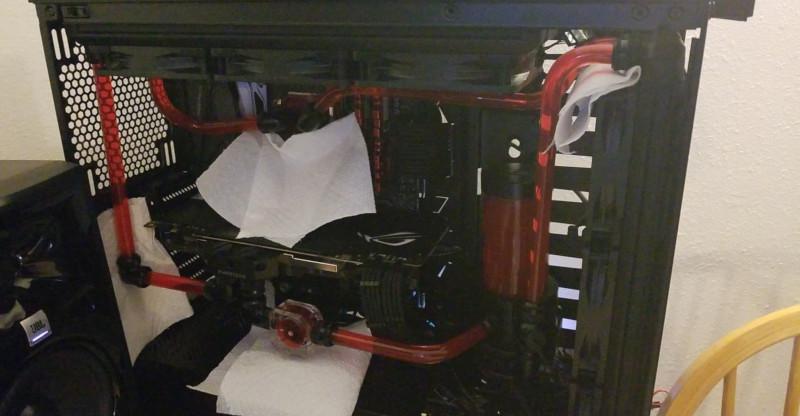
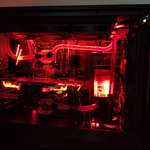
First I flushed the loop with vinegar water, flushed it out again with clean distilled water, and then added my red coolant. Here it is just before I turned the pump on for a longer leak test.
It was also during this process that I discovered my pump does not allow for water to flow back through it. While that is generally a good thing, I had mounted my drain valve on the input as it looked better. This made for some interesting times flushing the loop and I'll probably fix it when I take it apart for maintenance soon.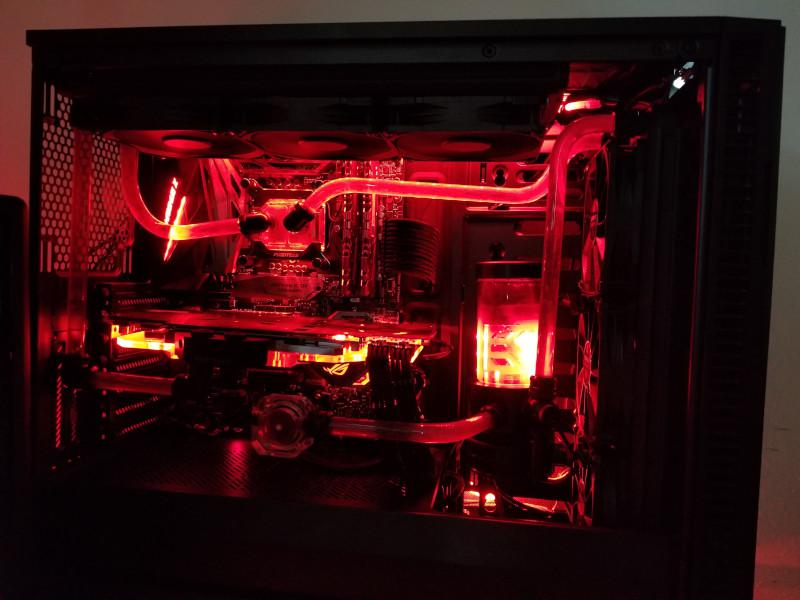
The finished product! Putting the R in RGB.
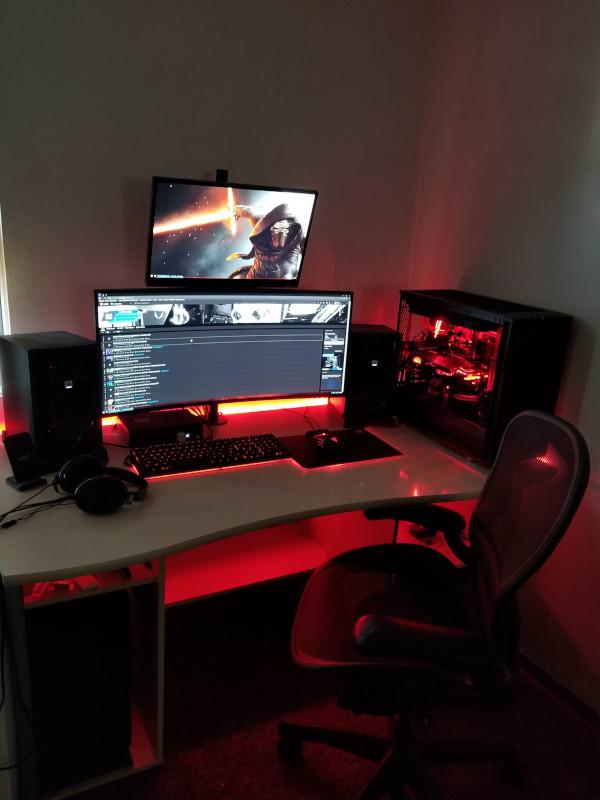
Now that I have the computer ready to show off, I just need a bigger desk!
Thanks for checking out my build.

