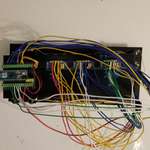
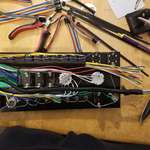
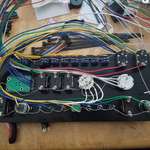
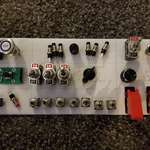
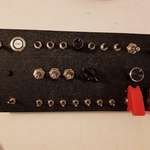
After seeing a couple posts of people's custom button boxes on reddit I knew I had found my next project. I've been doing quite a bit of Arduino and small electronics lately, and this was the perfect fit. So off I went to Amazon, ordered a bunch of stuff I thought might be cool / useful and started piecing things together.
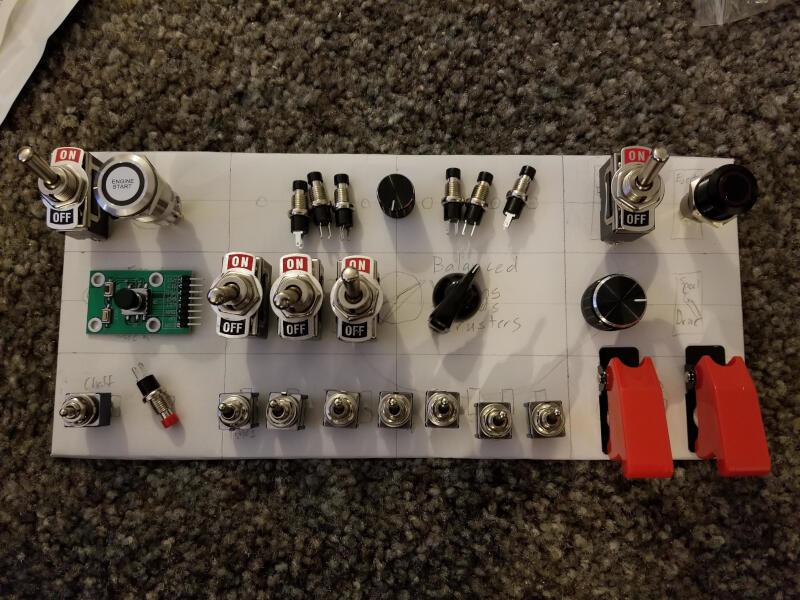 Designing the layout I wanted to use with some rough idea of what they were for.
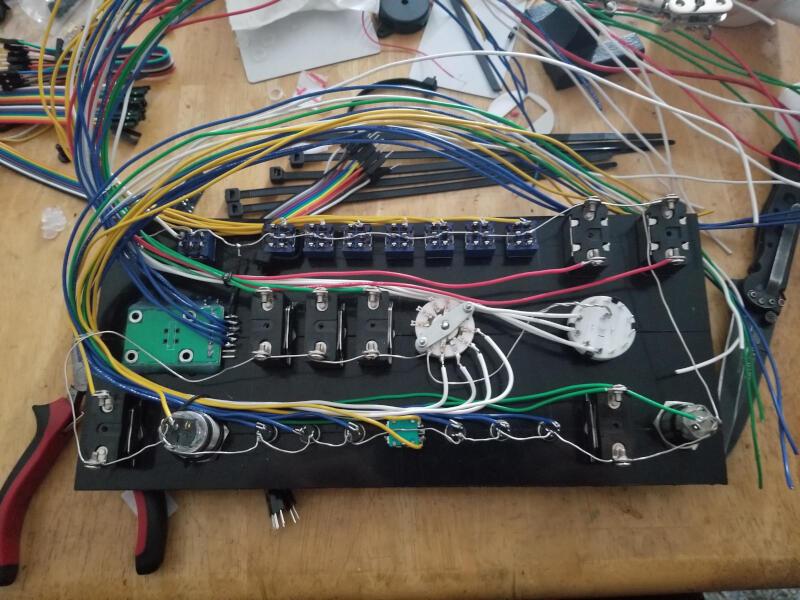 Got all the holes drilled, components mounted, and soldered. Ended up having to change some of the wiring due to splitting the inputs between the Arduino's pins and the expansion modules.
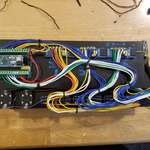
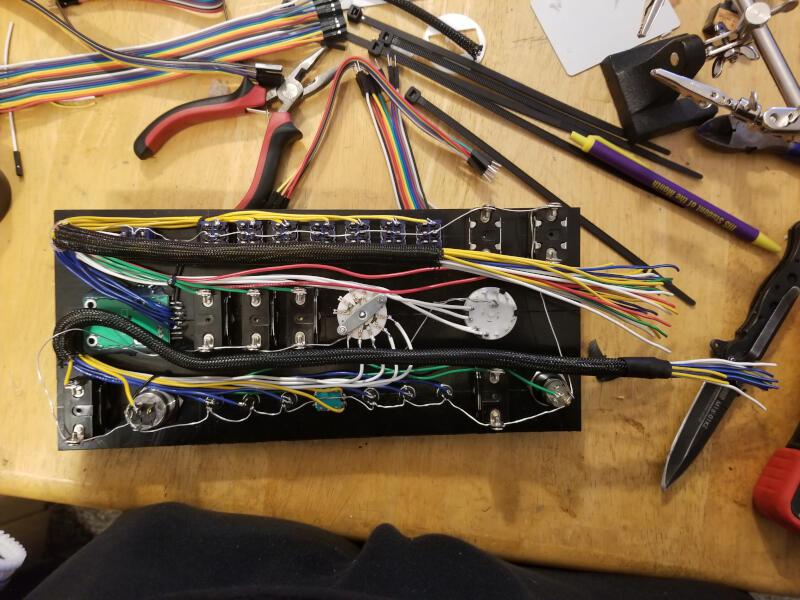 Put some cable wrap on after being informed my wiring was a bit of a "rat's nest," this is before I had solidified how I was mounting the Arduino and IO expanders.
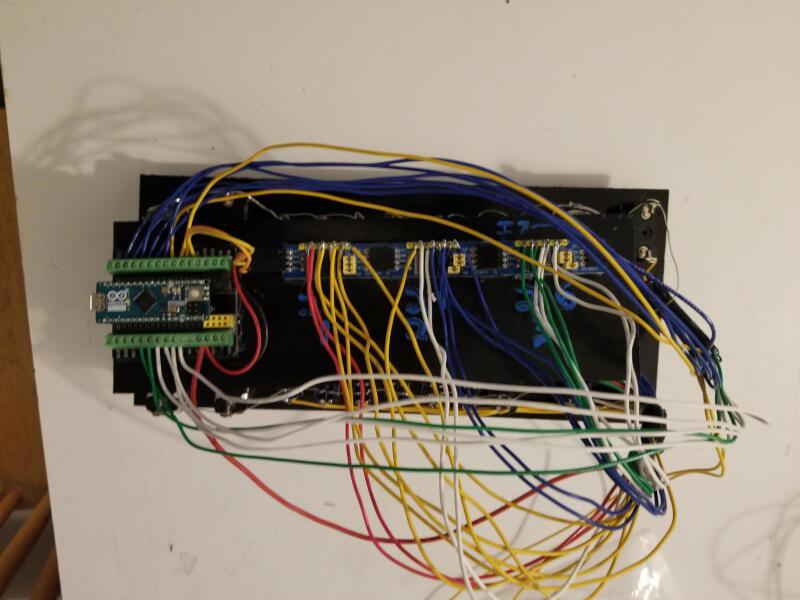 Made a second smaller plate to mount the Arduino, terminal board, and PCF8574 IO Expansion Boards. Hot glued them in place, ran one row of inputs to the Arduino, and the other two rows to the expansion board. Had to strip off most of my wire cover, but the couple inches left makes for a nice flex point between the two plates.
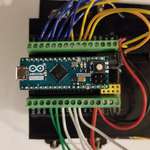
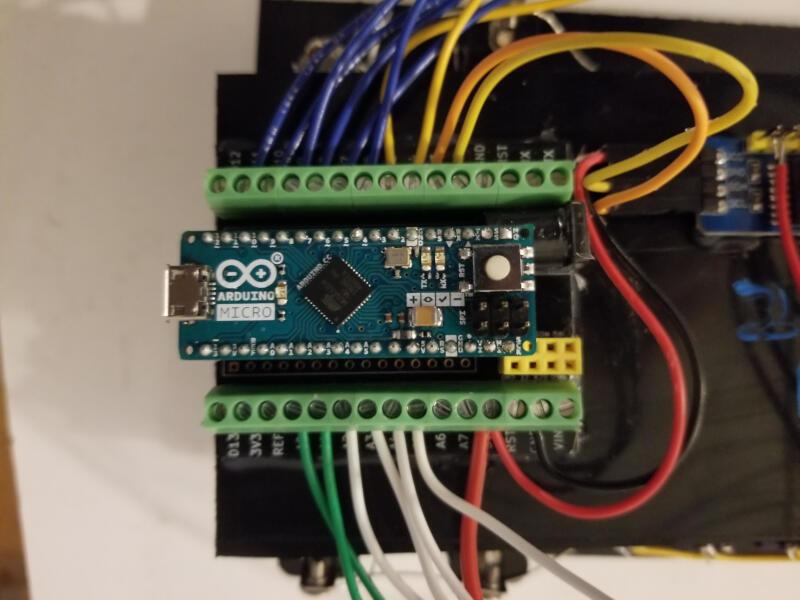 The Arduino Micro and terminal adapter board. Only the Arduino Micro (and the Leonardo I believe) can be used to emulate a USB input device on Windows. I got the terminal adapter board to make it easier to move inputs around originally, but since I ended up soldering to the IO expanders they are still pretty fixed. I did have to unsolder and remove the four rightmost pins on the Arduino to make it fit since the board is designed for a nano. Other than having two extra analog pins the rest of them line up and work fine.
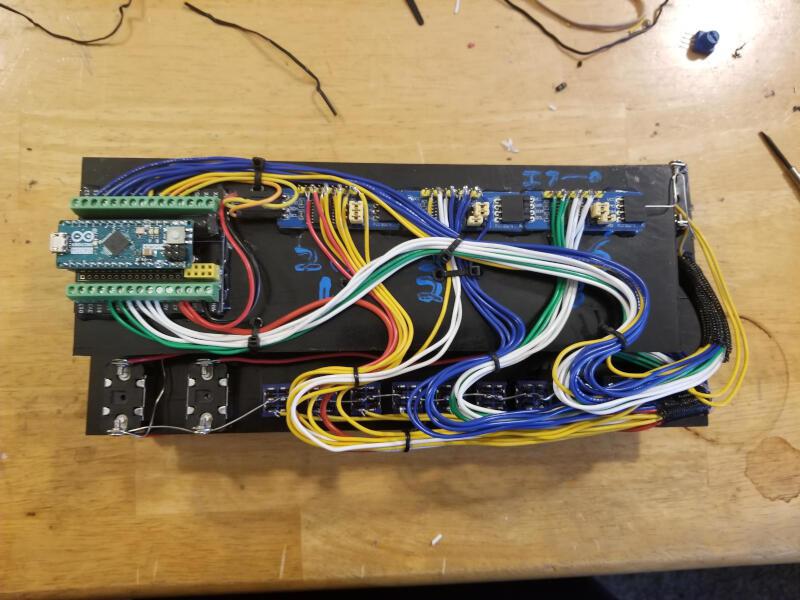 Some good ol' cable management. Much cleaner and less likely to put undue stress on the solder connections while I wrangle it into some sort of enclosure.
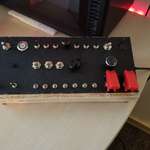
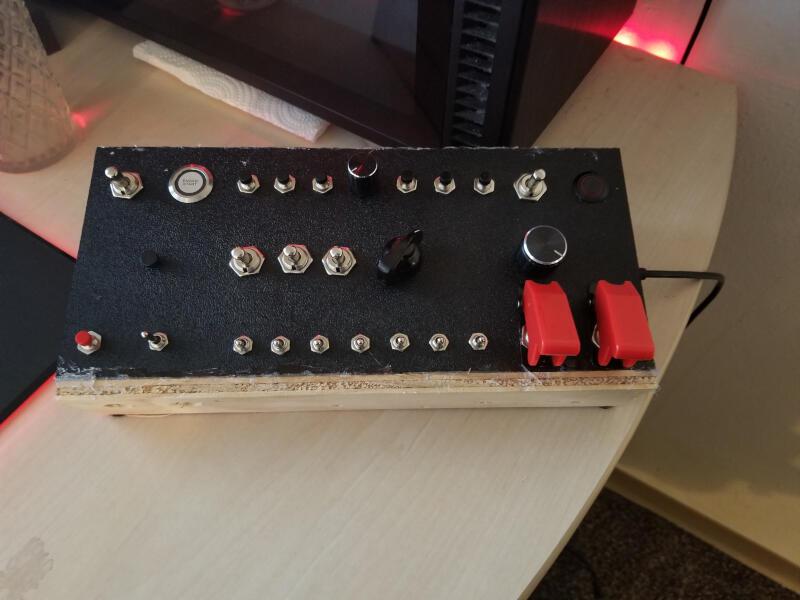 And the working product! Was originally going to set it into some sort of project enclosure, but ended up getting impatient and just mounting it to two pieces of plywood with some feet. It added enough heft to it that I can lift the switch guard and rotate the somewhat stiff selector without issue.
Eventually I'll get a better enclosure for it, probably grab one off of Hammond mfg or get someone with a larger 3D printer to make one. The engine start and black/red button (that I'm going to use for quantum jump) have leds in them that I don't currently have hooked up to the Arduino, but once we get some sort of API into Star Citizen hopefully I can tie them to engine state and jump spool/ready state.
The controls are:
Power on switch, flight ready button, 3 misc buttons, zoom rotary encoder, 3 misc buttons, quantum spool switch, quantum jump button
Hat switch + center for shield distribution and reset, engine, shield, and thruster power switches, power distribution profile selector, misc selector
Flare fire button, flare select, 7 misc toggle switches, self destruct switch, eject switch.
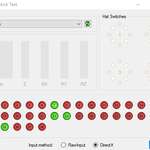
It works! I mapped everything to a button in the Arduino code (no rotary encoder as zoom in this screenshot) so that I can easily bind to functions in Star Citizen. Unfortunately without an API this means the switch positions can get out of sync with the actual ship status easily. If by the time of release / they make an API there still isn't a way to read / set state by API then I'll probably make a new version with only toggle buttons.
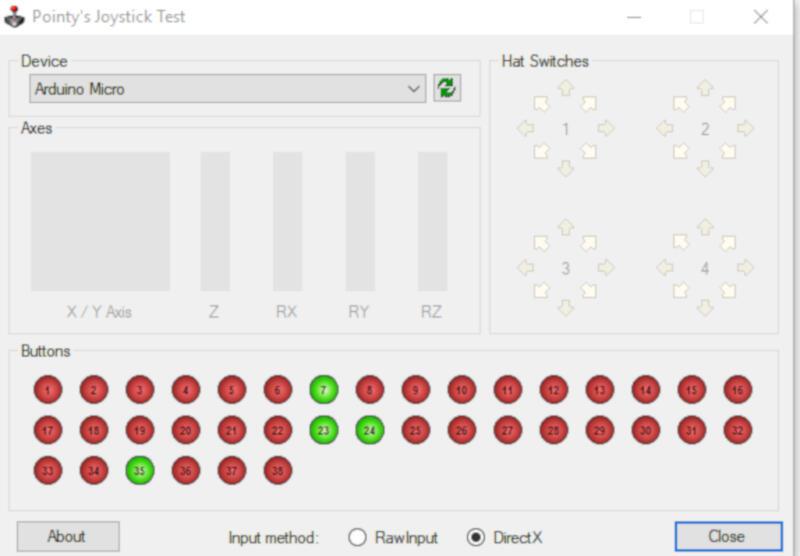 And the proof that windows recognizes everything!
